本記事は TVer Advent Calendar 2023 の20日目の記事です。
はじめに
こんにちは、TVerでAndroidアプリ開発をしています石井です。
AndroidViewでコンテンツの一覧などを表示する際にRecyclerViewがよく使われると思いますが、カルーセルのようなUIにするためにはどうすれば良いでしょうか。
一般的にはRecyclerViewにLinearSnapHelperをアタッチすることで、カルーセルのようにコンテンツを中央寄せさせるUIを作ることが可能です。
ただし、LinearSnapHelperはあくまでも中央へのSnappingしか提供していないため、左寄せや右寄せなど中央以外にしたい場合は独自にSnapHelperを継承した実装をしなければなりません。独自に実装するとして、各関数がSnappingに対してどのような役割を担っているか理解が必要です。
では、どのようにしてこのSnappingは実現しているのでしょうか。
今回はLinearSnapHelperを例にしつつ、SnapHelperがどのようにしてSnappingを実現しているのかを深ぼっていこうと思います。
LinearSnapHelperを用いた中央寄せ
前提にはなりますが、そもそもSnappingがどういった挙動なのか、どう実装すればSnappingができるのかを簡単に見てみましょう。
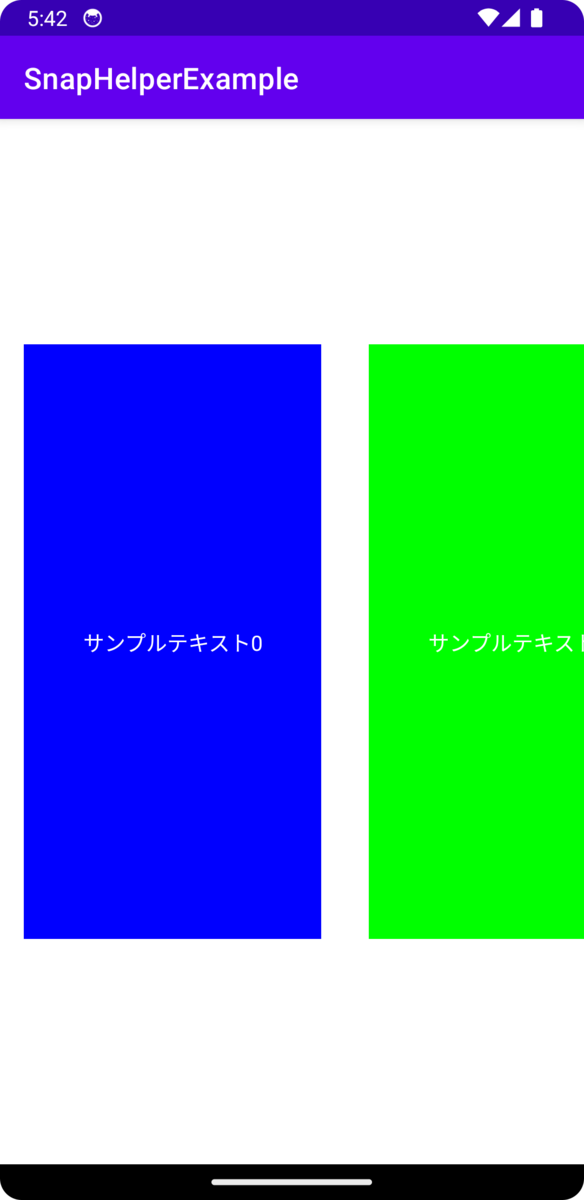
今回はよくある横スクロールで挙動を確認していきたいので、横スクロールのRecyclerViewを作成します。
val layoutManager = LinearLayoutManager(
    requireContext(),
    LinearLayoutManager.HORIZONTAL,
    false,
)
recyclerView.layoutManager = layoutManager
それではLinearSnapHelperでSnappingを実装していきます。
val snapHelper = LinearSnapHelper()
snapHelper.attatchToRecyclerView(recyclerView)
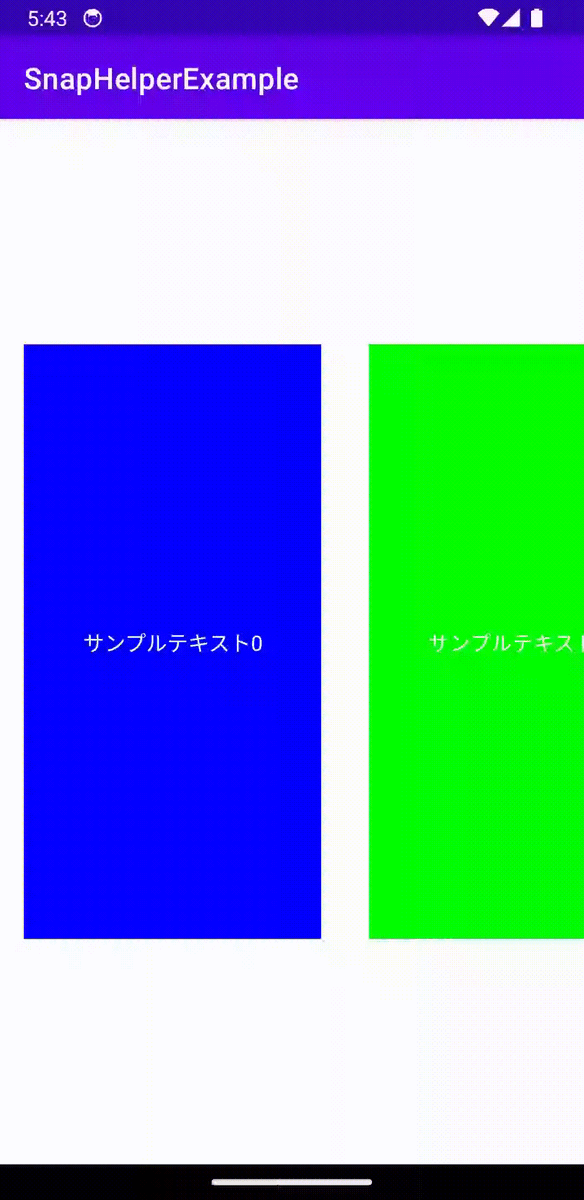
これで簡単に中央にSnappingするRecyclerViewが完成しました。
Snappingの仕組み
では、どのようにSnappingを実現しているのでしょうか。
SnapHelperには3つの抽象関数があります。
- calculateDistanceToFinalSnap
- findSnapView
- findTargetSnapPosition
特に関連しそうな calculateDistanceToFinalSnap と findTargetSnapPosition にフォーカスして、まずはSnapHelperの実装を見ていきます。
SnapHelper側ではFlingが実行されると snapFromFling が実行されます。
private boolean snapFromFling(
    @NonNull RecyclerView.LayoutManager layoutManager,
    int velocityX,
    int velocityY
) {
    // 省略
    int targetPosition = findTargetSnapPosition(
        layoutManager,
        velocityX,
        velocityY
    );
    if (targetPosition == RecyclerView.NO_POSITION) {
        return false;
    }

    smoothScroller.setTargetPosition(targetPosition);
    layoutManager.startSmoothScroll(smoothScroller);
    return true;
}
findTargetSnapPosition で計算されたpositionの位置まで startSmoothScroll でスクロールが実行されていくのが分かります。また smoothScroller に対象の位置をsetしているのもわかります。
次に calculateDistanceToFinalSnap の方を見ていきましょう。
@Nullable
@Deprecated
protected LinearSmoothScroller createSnapScroller(
    @NonNull RecyclerView.LayoutManager layoutManager
) {
    if (!(layoutManager instanceof RecyclerView.SmoothScroller.ScrollVectorProvider)) {
        return null;
    }
    return new LinearSmoothScroller(mRecyclerView.getContext()) {
        @Override
        protected void onTargetFound(
            View targetView,
            RecyclerView.State state,
            Action action
        ) {
            if (mRecyclerView == null) {
                // The associated RecyclerView has been removed so there is no action to take.
                return;
            }
            int[] snapDistances = calculateDistanceToFinalSnap(
                mRecyclerView.getLayoutManager(),
                targetView
            );
            final int dx = snapDistances[0];
            final int dy = snapDistances[1];
            final int time = calculateTimeForDeceleration(
                Math.max(Math.abs(dx), Math.abs(dy))
            );
            if (time > 0) {
                action.update(dx, dy, time, mDecelerateInterpolator);
            }
        }

        @Override
        protected float calculateSpeedPerPixel(DisplayMetrics displayMetrics) {
            return MILLISECONDS_PER_INCH / displayMetrics.densityDpi;
        }
    };
}
先ほどsetした対象の位置に対して onTargetFound が実行され、 calculateDistanceToFinalSnap で計算された距離分だけ動いていくことがわかります。
まとめると以下のことがわかります。
findTargetSnapPositionで対象となるViewの位置を計算- 計算した位置までスクロール
- 対象となるViewが画面上に出てきたら
onTargetFoundが実行される - 微調整を行なってSnappingを実現させる
LinearSnapHelperの中央寄せ
では最後にLinearSnapHelperの実装を見て、どのように中央へSnappingをしているかを見てみます。
@Override
public int[] calculateDistanceToFinalSnap(
    @NonNull RecyclerView.LayoutManager layoutManager,
    @NonNull View targetView
) {
    int[] out = new int[2];
    if (layoutManager.canScrollHorizontally()) {
        out[0] = distanceToCenter(
            targetView,
            getHorizontalHelper(layoutManager)
        );
    } else {
        out[0] = 0;
    }

    if (layoutManager.canScrollVertically()) {
        out[1] = distanceToCenter(
            targetView,
            getVerticalHelper(layoutManager)
        );
    } else {
        out[1] = 0;
    }
    return out;
}

private int distanceToCenter(@NonNull View targetView, OrientationHelper helper) {
    final int childCenter = helper.getDecoratedStart(targetView)
            + (helper.getDecoratedMeasurement(targetView) / 2);
    final int containerCenter = helper.getStartAfterPadding() + helper.getTotalSpace() / 2;
    return childCenter - containerCenter;
}
distanceToCenter で対象となるViewの中央とコンテナの中央間の距離が計算されます。
findTargetSnapPosition の方はコード量が多いので割愛しますが、スクロールした時のスクロール量とViewの大きさをもとに最も中心に表示できるViewの位置を返すロジックになっていました。
改めてSnapHelper含め、LinearSnapHelperを振り返ると以下のようになります。
findTargetSnapPositionでスクロール量から対象となるViewを事前計算- 対象のViewまで
startSmoothScrollを使ってスクロール - 対象となるViewが画面上に出てきたら
onTargetFoundが実行される calculateDistanceToFinalSnapで対象のViewの中心とコンテナの中心間の距離を計算- その分移動させることで、Viewの中心とコンテナの中心が重なり中央へのSnappingが実現できる
まとめ
今回はSnappingの挙動からSnapHelperのSnappingに関わる部分を掻い摘んでざっくりと解説させていただきました。Snapping自体は珍しい挙動ではなく様々なサービスで利用されています。 SnapHelperの挙動について理解を深めておくことで多様なSnappingの実装が簡単にできるようになりますし、SnapHelperに依存せず同様な処理を実装できるのではないかと思います。